Sunday, February 19, 2012
Saturday, February 18, 2012
Friday, February 17, 2012
Thursday, February 9, 2012
Halftone Tutorial
Here is a quick and easy way to use photoshop to get those fancy dot patterns in your art. Halftones allow you to have complete control over how your printed artwork will look. They are also necessary for certain processes like silkscreening, if you want to do any shading or continuous tones.
1. Start out by scanning your line-art at 600 dpi (or higher) grayscale.
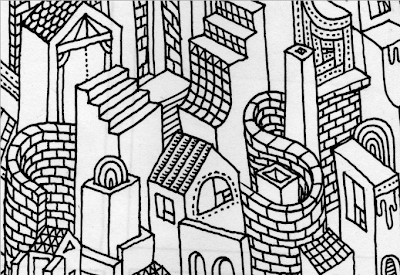
2. Make adjustments to the levels so that the paper looks absolutely white and the ink looks black. Make any corrections you need to. Around this time, make sure the art is at the size you want it to print.
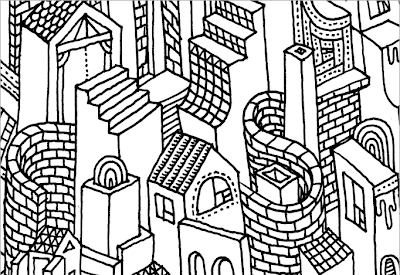
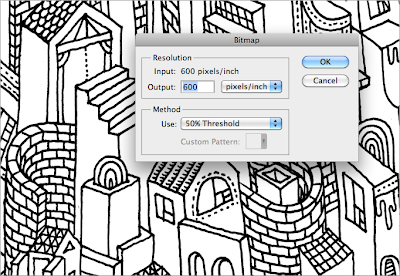
3. Now convert your file from Grayscale mode to Bitmap, with the 50% threshold setting.
This will ensure that your line art is absolutely crisp.
4. Convert the Image back to Grayscale.
5. Now add the tones of grey to the areas you want. You can do this all on the same layer with the paint bucket tool or whatever brush set you prefer.

6. Convert the Image to Bitmap, this time change 50% Threshold to Halftone Screen. You can use these settings, or play around with larger dots or other shapes.
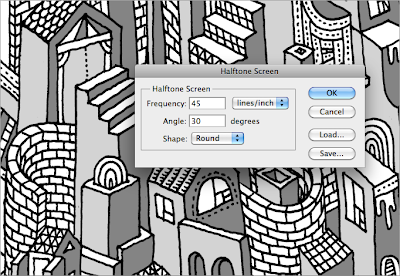
Then you are done. Have fun!

1. Start out by scanning your line-art at 600 dpi (or higher) grayscale.

2. Make adjustments to the levels so that the paper looks absolutely white and the ink looks black. Make any corrections you need to. Around this time, make sure the art is at the size you want it to print.

3. Now convert your file from Grayscale mode to Bitmap, with the 50% threshold setting.
This will ensure that your line art is absolutely crisp.

4. Convert the Image back to Grayscale.
5. Now add the tones of grey to the areas you want. You can do this all on the same layer with the paint bucket tool or whatever brush set you prefer.

6. Convert the Image to Bitmap, this time change 50% Threshold to Halftone Screen. You can use these settings, or play around with larger dots or other shapes.

Then you are done. Have fun!

Wednesday, February 1, 2012
Subscribe to:
Comments (Atom)


